
Review · GOKYO LAKES & EVEREST HIGH PASSES
Island Peak Climbing | Summit 6,189m with Expert Guides
Six thousand meters changes your breathing fast. This 14-day Island Peak challenge pairs expert guiding with classic Khumbu trekking, then pushes you to the 6,189m summit in a structured way.
I love the pace and altitude planning. You work up gradually through Namche, Tengboche, Dingboche, and Chhukung, with intentional “go higher, sleep smarter” days that help you feel less like you’re fighting the air. I also like that you get practical pre-climb glacier training at Base Camp, not just hope and heroics. The one real drawback to consider: flights into Lukla are weather-dependent, and in peak season they may route through Ramechhap.
You’re also in a private group with a licensed English-speaking guide, plus a porter setup (one porter for every two clients). That mix tends to make this climb feel like a guided project, not a random scramble—especially on summit day.
Key points I’d circle before you book
- Island Peak summit (6,189m) with proper technical support and a planned summit window
- Sherpa villages + Everest views along the Khumbu trek corridor
- Acclimatization built into the schedule, with high days before your final push
- Glacier walking training at Base Camp, including tools like ice screws and hammers
- A contingency buffer day, so you’re not forced to attempt the summit at the first weather wobble
- Porters and group equipment included, so you carry less and climb with the right kit
In This Review
- Island Peak at 6,189m: the Everest region challenge with a clearer plan
- From Kathmandu to Lukla: where the trip starts (and where delays happen)
- Phakding to Namche Bazaar: suspension bridges and your first real Everest look
- Namche to Tengboche: monasteries, route rhythm, and a higher baseline
- Dingboche to Chhukung: the altitude jump that makes summit day possible
- Summit Island Peak day: what your body will feel, and how to not waste the effort
- Day 10 contingency: the smartest part of “summit attempts”
- The ride back to civilization: Chhukung to Namche, then Lukla to Kathmandu
- Guides, Sherpas, and gear: what you get that actually matters on a technical climb
- What’s included vs. extra: how to judge the real cost (and avoid surprises)
- Training and safety basics: what you must prepare before you go
- Who this fits best (and who should rethink it)
- Should you book Island Peak with this setup?
- FAQ
- What is the highest elevation you reach on the trek before the summit day?
- Are the round-trip flights between Kathmandu and Lukla included?
- Is the Island Peak climbing permit included in the price?
- What meals are included during the trek?
- Do you provide climbing gear for the group?
- Do I need my own sleeping bag or down jacket?
- Do I need travel insurance?
- Are drones allowed on this trip?
Island Peak at 6,189m: the Everest region challenge with a clearer plan
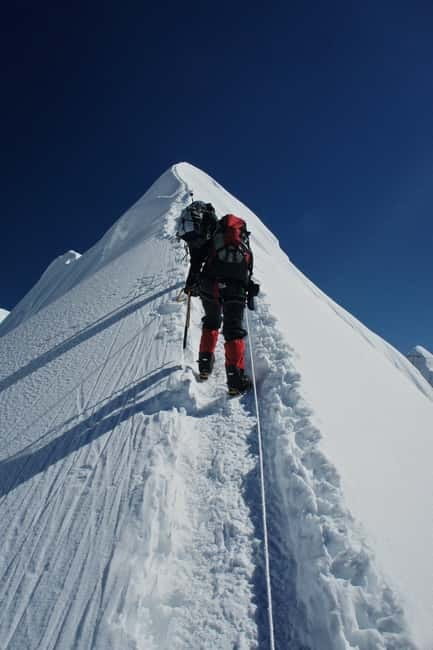
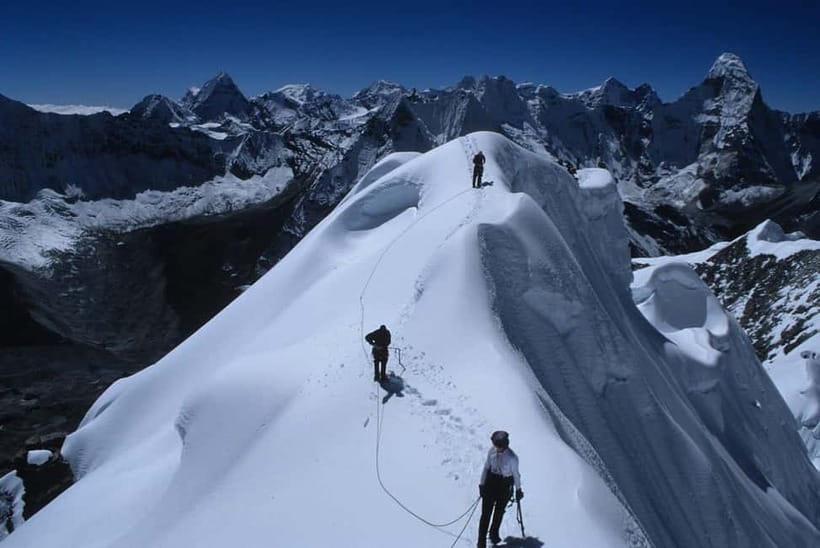
Island Peak (Imja Tse) sits in the Everest region and tops out at 6,189m. The big draw here is that you get that “Himalaya big-ticket” feeling—Everest, Lhotse, Ama Dablam in the view—without needing the same level of commitment as a full Everest expedition.
What makes this specific trip feel smart is the way it’s packaged: trek days for acclimatization, then focused climbing preparation at Base Camp, and then a summit day that’s long but not random. You’ll also be part of a private group, which usually means your guide can manage the pace and keep the group working together.
You’re not just buying a summit. You’re buying time at altitude with structure.
Not sure yet? Here are other Kathmandu tours worth a side-by-side look.
- Everest Base Camp Trek – 14 Days★ 5.0 · 1,499 reviews
- Everest Base Camp Trek★ 5.0 · 842 reviews
- Private Kathmandu Sightseeing Tour | UNESCO World Heritage sites★ 5.0 · 756 reviews
- Kathmandu: 7 UNESCO Sites with Lunch★ 4.8 · 744 reviews
From Kathmandu to Lukla: where the trip starts (and where delays happen)
Day 1 is Kathmandu (1,338m). You’ll land, get transfers, and settle into two nights in a deluxe suite-style hotel. This matters more than it sounds. Kathmandu is where you get your bearings, sort cash, and make sure your gear is actually ready before the mountain starts chewing up your energy.
On Day 2 you fly to Lukla, then trek to Phakding (around 2,800m). The flight is short—about 35 minutes—but it’s iconic for a reason. After landing, you start moving right away, about 3–4 hours walking, roughly 8 km with a drop of about 300m.
Here’s the practical part: Lukla flights can be rerouted. The trip notes that peak-season flights may operate from Ramechhap. If your schedule is tight, this is the one logistical wildcard you should plan around.
Phakding to Namche Bazaar: suspension bridges and your first real Everest look
Day 3 takes you from Phakding up to Namche Bazaar (3,438m) in about 5–6 hours. Expect around 10 km of trekking plus an ascent of about 600m. The “first sight” moment usually comes with the suspension bridges and the gradual opening of views—Thamserku and then Everest entering the scene.
Day 4 is an acclimatization day in Namche. This is one of the most valuable parts of the whole experience. You only walk about 2–3 hours (optional hikes), with minimal net gain, and you sleep at the same altitude. You also get mountain panoramas, including Everest and Ama Dablam.
If you hate wasting time, you might be tempted to rush acclimatization. Don’t. That Namche buffer is the difference between feeling strong at higher camps and feeling like you’re always one step from stopping.
Namche to Tengboche: monasteries, route rhythm, and a higher baseline
Day 5 climbs from Namche to Tengboche (3,870m), about 5–6 hours and around 9 km. The ascent is about 430m. This day’s highlight is Tengboche Monastery, which is a meaningful cultural stop in the Khumbu region.
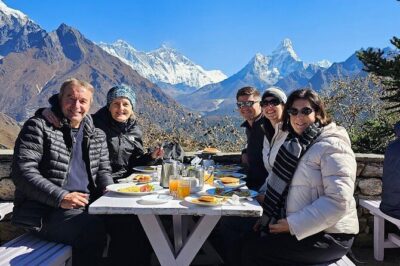
You’ll keep seeing Everest and Lhotse, plus Ama Dablam. That matters because you’re not just staring at mountains; you’re learning what kind of weather changes mean for your climb later. Big peaks don’t show up the same way in clear weather versus cloud or wind.
Day 6 continues upward to Dingboche (4,360m), roughly 5–6 hours and about 10 km. You’ll gain about 490m and walk through valleys that feel quieter, more open, and more “high altitude settlement” than the busier lower trails.
Dingboche to Chhukung: the altitude jump that makes summit day possible
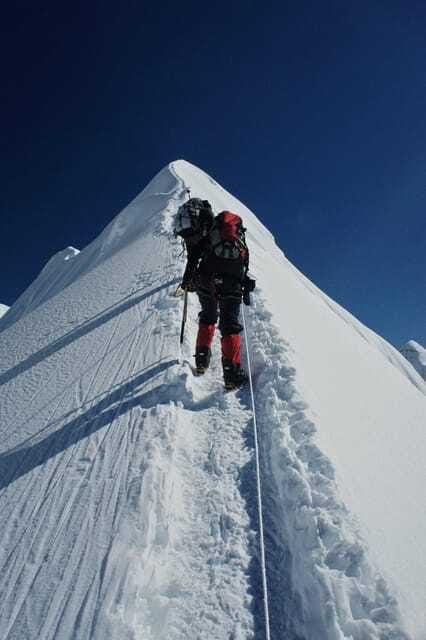
Day 7 takes you to Chhukung (4,730m) in about 3–4 hours, around 6 km, with an ascent of about 370m. This is where the trip starts getting serious in your legs. You’ll walk through alpine pastures and get views of Lhotse and Island Peak itself.
Day 8 goes higher still to Island Peak Base Camp (5,200m) in about 3–4 hours. This day combines trek movement with pre-climb work. The plan includes pre-climb training—especially glacier walking practice—plus you’ll continue your familiarization with the tools and technique you’ll need later. You gain about 470m and will be using the climb kit and training setup, with Island Peak and Lhotse in view.
The big value here: you’re not learning crampon-and-ice techniques when you’re already exhausted from summit-day conditions. You learn them while you can still think.
Summit Island Peak day: what your body will feel, and how to not waste the effort
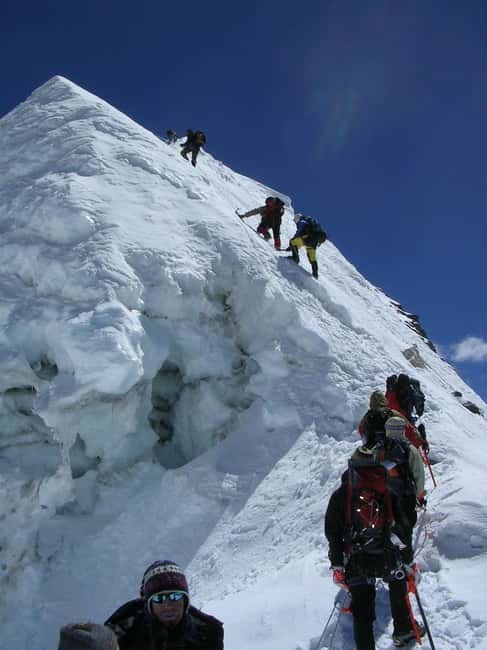
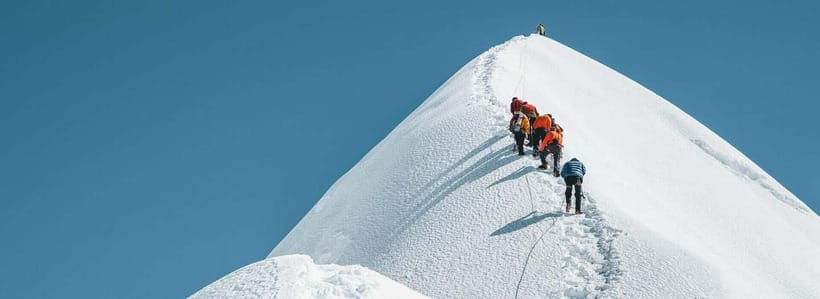
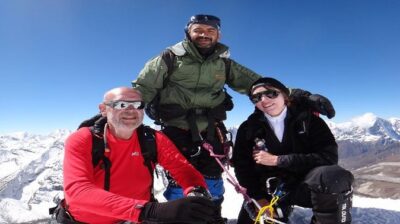
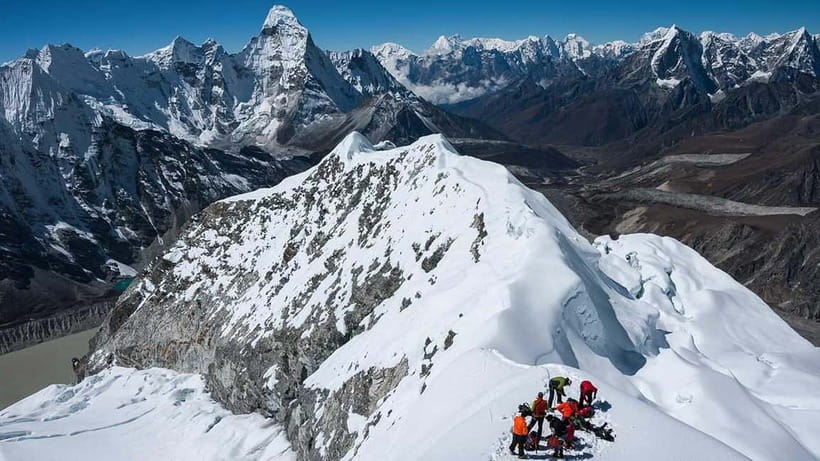
Day 9 is the summit push to Island Peak (6,189m), then back down to Base Camp. The long day runs about 8–10 hours, with roughly 10 km total distance. You’ll climb about 989m and then descend about 989m.
This is the “earned payoff” day. You’ll be moving over technical terrain that calls for coordination, balance, and steady pacing. The prior training at Base Camp plus the guide support makes a real difference here, because summit day is not the time to experiment.
From a practical angle, plan to keep your effort controlled early. On summit days, it’s easy to sprint the first part because everything feels possible. Then you pay for it later. The best climbing feeling comes from consistent steps.
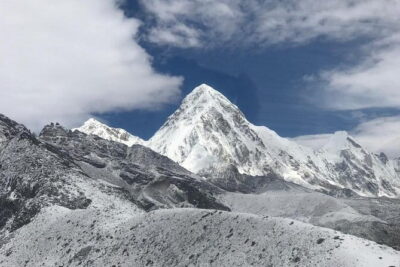
You’ll likely also see bigger peaks like Everest and Makalu. The view is part of the reason people do Island Peak at all—but the real win is finishing with a technique you trust.
Day 10 contingency: the smartest part of “summit attempts”
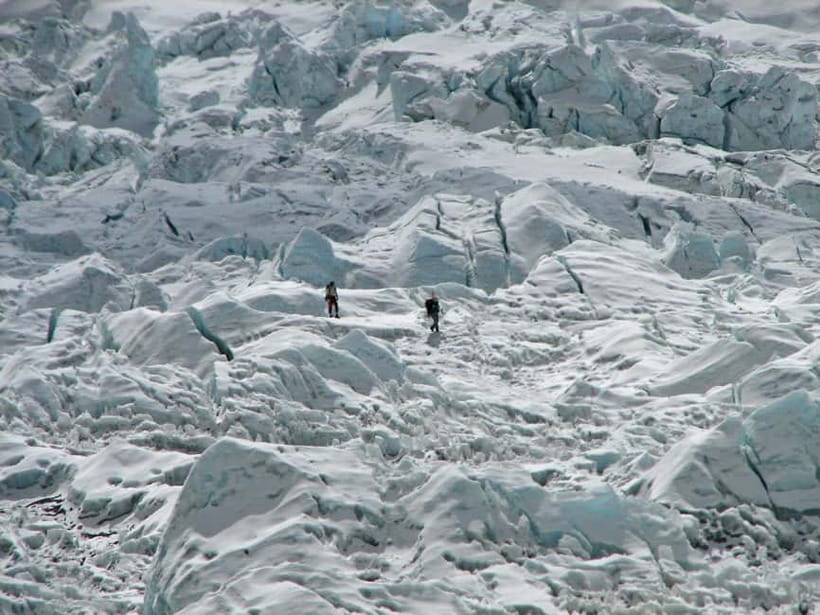
Day 10 is a contingency day. That buffer is there because weather is not a polite guest. If conditions aren’t right for a safe summit push, you don’t have to panic. You get a planned second chance.
From a value standpoint, this is worth real money. A schedule that forces a summit attempt on a bad day often costs more than the trip itself—usually in stress, sickness, or a rushed retreat. A buffer day helps keep the climb aligned with safety and timing.
The ride back to civilization: Chhukung to Namche, then Lukla to Kathmandu
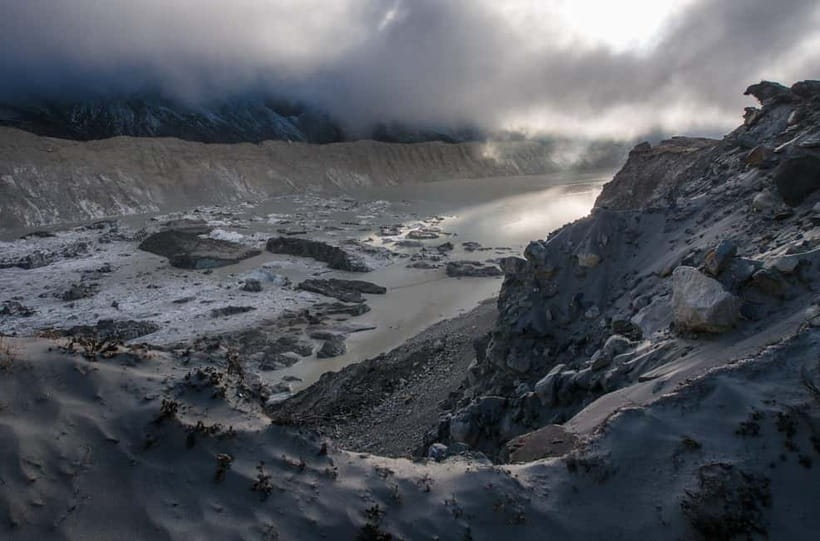
Day 11 is descent trekking from Chhukung back to Namche Bazaar in about 5–6 hours, around 18 km, with a net descent of about 1,292m. You’ll drop to 3,438m. You’ll still see Ama Dablam and Everest, but the hiking feels different on the way down: it’s your knees and feet doing more work than your altitude lungs.
Day 12 takes you from Namche to Lukla (2,800m) in about 6–7 hours, roughly 19 km, net descent about 638m. Day 13 is your flight back to Kathmandu (around 35 minutes). Day 14 is departure.
One small tip: plan to move slower than you think on the descent days. Even with a guide, your legs can get sloppy when the end is close.
Guides, Sherpas, and gear: what you get that actually matters on a technical climb
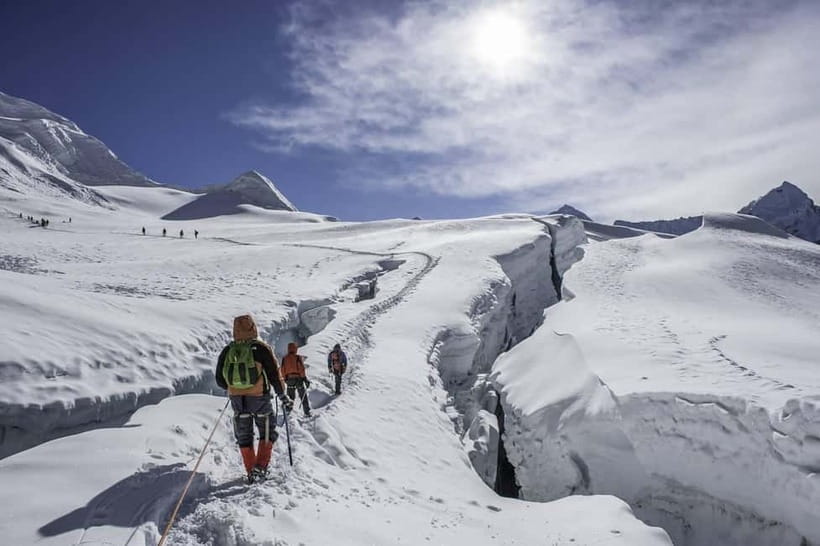
This is not a “buy a permit and hope” operation. You’ll have a licensed English-speaking climbing guide for the Island Peak ascent with minimum experience of 20+ summits. That experience matters because the team is managing technique, timing, and risk on the high part of the route.
You’ll also have a porter for every two clients, including porter food, accommodation, salary, equipment, and insurance. This is a big deal in the Everest region. It reduces the load you’re carrying at altitude, and it tends to make the walking days more comfortable—especially before Base Camp.
Your group climbing equipment is included: ropes, ice screws, snow bars, ice hammers, tents, and kitchen equipment. That’s useful because technical gear can add cost if you try to source it yourself, and quality matters for safety.
There’s also a heli rescue assistant included, specifically to help contact your insurance if needed. That’s not the same as a guarantee of rescue, but it’s a practical support detail that you’ll feel grateful for if plans go sideways.
What’s included vs. extra: how to judge the real cost (and avoid surprises)
The advertised price is $1,699 per person for 14 days. That includes transfers in a private vehicle, Kathmandu accommodation (two nights in a deluxe suite-style setup), and three meals per day during the trek. It also includes a long list of fees tied to the area—like Sagarmatha National Park entry and the Sagarmatha Pollution Control Committee fee.
You also pay a garbage deposit of USD 500, listed as part of the trip costs. If you’ve never dealt with Himalayan climbing logistics, deposits like this are normal and usually tied to responsible waste management rules.
What’s not included matters:
- Island Peak climbing permit is extra (listed as USD 350 / USD 175)
- Round-trip flights Kathmandu–Lukla are extra (USD 440 per person)
- Travel insurance for the climbing guide is listed as USD 100
- Personal expenses (Wi‑Fi, drinks, laundry, and similar)
- Tips for guides, porters, and drivers are customary but not included
Value math (simple version): you’re paying for multi-day guiding, training support, and the climbing setup tools, plus the crew model with porters. If you already plan to pay for flights and permits anyway, this package can feel like a streamlined way to manage the parts that often become messy.
Training and safety basics: what you must prepare before you go
The trip stresses a good level of physical fitness for the Island Peak climb. Also, bring valid travel insurance that covers high-altitude trekking and climbing. The altitude isn’t just sightseeing; you’ll be moving in conditions that can go from calm to serious quickly.
On what to bring:
- Passport
- Climbing gear
- Cash
- Flashlight
Some essentials will be provided, including a duffle bag, plus items like a sleeping bag and down jacket are indicated as provided for you. Still, you’ll want your own climbing gear if you’re expected to travel with it.
Weather is variable. The schedule includes a contingency day to protect the summit attempt if conditions don’t cooperate. And drones are not allowed.
Who this fits best (and who should rethink it)
This is designed for adults, and it’s not for kids under 14. It also lists it as not suitable for pregnant women, wheelchair users, and people over 95.
Best fit:
- You can hike for long days at elevation without breaking down
- You want a structured climbing path with Base Camp training
- You’re comfortable with technical terrain and following instruction closely
If you’re unsure about your fitness level, you should be honest with yourself. This trip includes the support, but your body still has to do the work.
Should you book Island Peak with this setup?
If you’re aiming for Island Peak summit with a plan that focuses on acclimatization, then yes, this is the kind of itinerary that makes sense. You get technical glacier preparation before the high day, a guide with significant summit experience, and a crew model that keeps your pack load reasonable.
Book it if:
- You want Everest-region trekking that stays structured through Namche, Dingboche, and Chhukung
- You care about training and safety more than rushing straight to the summit
- You can budget for the extra items (especially flights and the climbing permit)
Hold off if:
- You can’t handle the idea of weather-based flight changes into Lukla
- You’re not ready for a long technical day plus a second chance day for weather
FAQ
What is the highest elevation you reach on the trek before the summit day?
The itinerary lists Island Peak Base Camp at 5,200m and the summit at 6,189m on day 9. The trek also reaches higher points like Chhukung at 4,730m and Dingboche at 4,360m.
Are the round-trip flights between Kathmandu and Lukla included?
No. Round-trip flights are listed as not included, at USD 440 per person.
Is the Island Peak climbing permit included in the price?
No. The Island Peak climbing permit is listed as not included, at USD 350 / USD 175.
What meals are included during the trek?
Three meals per day (breakfast, lunch, and dinner) are included during the trek.
Do you provide climbing gear for the group?
Yes. Group climbing equipment such as ropes, ice screws, snow bars, ice hammers, tents, and kitchen equipment is included.
Do I need my own sleeping bag or down jacket?
Essential items like a sleeping bag and a down jacket are indicated as provided, while you should bring your personal trekking gear.
Do I need travel insurance?
Yes. You should have valid travel insurance covering high-altitude trekking and climbing. A heli rescue assistant is included to help contact your insurance.
Are drones allowed on this trip?
No. Drones are not allowed.
More Tour Reviews in Kathmandu
Just Reviewed in Kathmandu
- Mountain Bike Tour
★ 5.0 · 3 reviews - Annapurna Panaroma
★ 5.0 · 3 reviews - Mount Everest Scenic Flight 50 Minutes
★ 5.0 · 3 reviews - Kathmandu : Swambhunath & Durbar Square Guided Half Day Tour
★ 3.3 · 3 reviews - Chandragiri Cable Car & Monkey Temple Tour – Private/Group
★ 5.0 · 3 reviews - Kathmandu: Shivapuri National Park Hiking Day Trip
★ 3.3 · 3 reviews
Gokyo Lakes & Everest High Passes, compared.
 ★ 5.0Gokyo to Everest Base Camp TrekFrom $2,200113 reviews
 ★ 5.0Everest Base Camp – Cho La Pass – Gokyo TrekFrom $1,39465 reviews
 ★ 5.012 Days Everest Base Camp Kala Patthar TrekFrom $1,79961 reviews
 ★ 5.0Guaranteed Landing at Everest Base Camp Kalapathar by HelicopterFrom $3,50038 reviews
 ★ 5.0Everest Gokyo Valley Trek – 12 daysFrom $1,39927 reviews
 ★ 4.214-Day Everest Base Camp with Kala Patthar TrekFrom $1,29621 reviews
 ★ 5.0Landing Private Helicopter at Everest base camp & Gokyo for photoFrom $4,39920 reviews
 ★ 5.0Gokyo Valley TrekFrom $1,51419 reviews
Browse the lists this tour appears in