
Review · GOKYO LAKES & EVEREST HIGH PASSES
Gokyo Valley Trek
If you want big views without technical climbing, this trek fits. The Gokyo Valley Trek takes you from Kathmandu to Lukla, then up through Sherpa country to Gokyo Ri for panoramic peaks and the massive Ngozumpa Glacier.
What I like most is the way the route builds in time to adjust to altitude, plus the clear payoff: Cho Oyu, Everest-range peaks, and that ice ridge between Cho Oyu and Gyachung when the weather behaves.
You’ll also like the human side of it. You walk into villages, monasteries, and trail-life where Sherpa culture is part of the scenery, not a side note. One caution: this is a real altitude trek, so pace and weather matter more than fitness bravado.
In This Review
- Key Highlights You Should Know Before You Go
- Kathmandu Warm-Up: Temples, Old Streets, Then Off to the Mountains
- Price and Logistics: What You’re Paying For (and What You Still Own)
- Flying to Lukla: The Real Start of the Everest Region
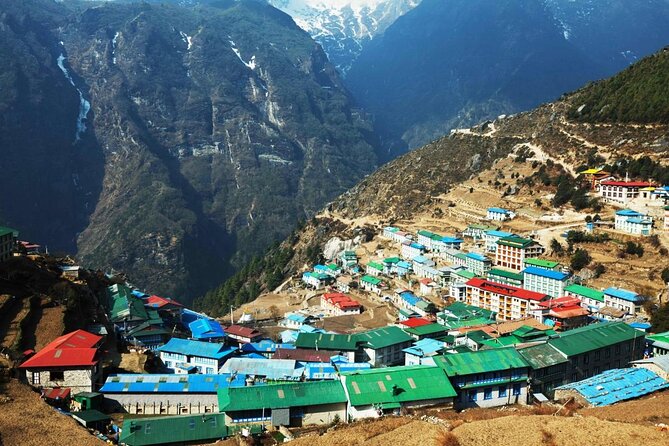
- Phakding to Namche Bazaar: Suspension Bridges and Gateway Town Energy
- The Namche Acclimatization Day: Museum, Syangboche, and Peak Views
- Into the Rhododendron Hills: Phortse and the Switch Toward Glacier Country
- Machhermo: Ridge Views and That Long Ice-Glacier Feeling
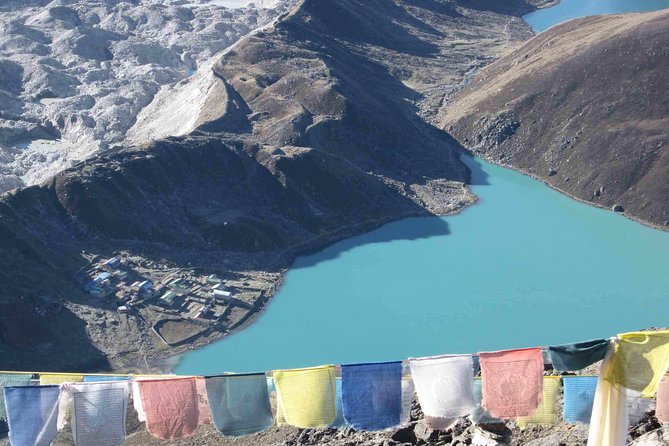
- Reaching Gokyo: Base Camp at 4,790 m and Glacier-Lake Atmosphere
- Gokyo Ri (5,483 m): The Early Climb That Changes Your Whole Perspective
- Dole Downhill: A Breather Day That Still Requires Good Legs
- Back Toward Namche: Sherpa Villages and the Mountain Behind You
- Lukla Return: Time to Reflect and Enjoy the Wind Shift
- Kathmandu Spare Day: Optional Add-Ons for Folks Who Can Still Walk
- Guides, Porters, and Real-World Flexibility (What the Best Teams Do)
- What You Should Pack and How to Train (Based on the Trek’s Real Profile)
- Should You Book the Gokyo Valley Trek With Ace the Himalaya?
- FAQ
- How high does the trek reach for the main viewpoint?
- Are airport transfers and sightseeing in Kathmandu included?
- Is trekking equipment provided?
- Do I need travel insurance?
- What meals are included versus not included?
- What is the cancellation refund window?
Key Highlights You Should Know Before You Go
- Ngozumpa Glacier views: the largest glacier in Nepal’s Himalayas shows up often, not just at the finish
- Gokyo Ri timing: an early steep climb for wide-open sunrise-style panoramas
- Sherpa village immersion: you pass monasteries and spend time around Khumbu communities
- Small group size: a maximum of 15 people keeps logistics and attention more manageable
- Guides and porters get real praise: people call out safety, responsiveness, and route flexibility
More trails out of Kathmandu, boots ready
- Everest Base Camp Trek – 14 Days★ 5.0 · 1,499 reviews
- Everest Base Camp Trek★ 5.0 · 842 reviews
- Everest Base Camp Trekking★ 5.0 · 485 reviews
- Nagarkot Sunrise View and Day Hiking from Kathmandu★ 5.0 · 471 reviews
Kathmandu Warm-Up: Temples, Old Streets, Then Off to the Mountains
Your journey starts with a Kathmandu “get your bearings fast” day before the trekking grind. You’ll see three major culture stops: Pashupatinath Temple, Boudhanath Stupa, and Bhaktapur Durbar Square. None of these are just boxes to tick; they set the tone. Hindu and Buddhist spiritual life runs through Kathmandu in a way that feels connected to daily rhythm, not museum energy.
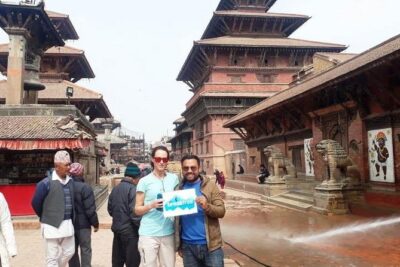
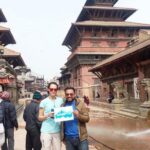
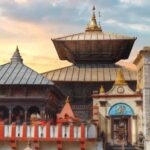
At Pashupatinath, you can’t enter the temple, but you do get strong views and you’ll notice the Bagmati River setting where activity happens along the banks. At Boudhanath, the prayer wheels and the steady rhythm of pilgrims give you that classic Himalayan tempo—quiet motion, lots of eye-level detail. Then Bhaktapur’s Durbar Square brings you to a different flavor: carved architecture, pagoda-style temples, and the historic royal residential area of Bhupatindra Malla.
Practical note: you’re signing paperwork and meeting your guide around the first couple of days, and you’re asked for passport details and travel insurance documentation. Bring what they request in a tidy way so you don’t lose time later when the real schedule starts.
Price and Logistics: What You’re Paying For (and What You Still Own)
At $1,514.67 per person for about 15 days, the value here comes from what’s bundled—especially since the trek lives in one of Nepal’s most logistically awkward places. You get the Kathmandu to Lukla to Kathmandu airfare, guided sightseeing in Kathmandu with entrance fees, trekking permits, and a licensed English-speaking trekking guide.
You’ll also get down jacket and sleeping bag rental for the trek, plus free gear items through an Ace the Himalaya duffel/kit bag and sun hat. And on the staffing side, it’s 1 porter for every two clients, which really matters on a route where the pack weight can wreck your mood by day three.
What’s not included is equally important: travel insurance for emergency high-altitude rescue and evacuation, your Nepal entry visa, and alcohol and drinks. Tips for trekking staff and driver are expected. You’ll also be responsible for personal trekking gear.
If you want a quick rule of thumb: this is a good deal if you’re bringing your own boots, layers, and rain protection and you’re okay with paying tips and insurance separately. If you’re under-insured or you’re planning to wing it on personal gear, the “included” list won’t save you.
Flying to Lukla: The Real Start of the Everest Region
The trek officially begins with the short but famous flight from Kathmandu to Lukla (2,804 m). It’s a scenic hop, and it puts you immediately into the Everest-region reality: small airports, steep geography, and routes that run alongside local lives.
Once you arrive, your guide briefs you and your team gets sorted—porters, equipment, and the first plan for the trail. From there, you walk toward Phakding. The day’s walking is described as easy, with a descent toward the Dudh Kosi River, suspension bridges, and prayer flags marking the trail in that unmistakable Khumbu way.
This first section is less about suffering and more about rhythm. You’re learning how your breathing changes with slope and altitude, and you’re watching how quickly conditions can turn—wind, cloud, and light shift fast in the mountains.
Phakding to Namche Bazaar: Suspension Bridges and Gateway Town Energy
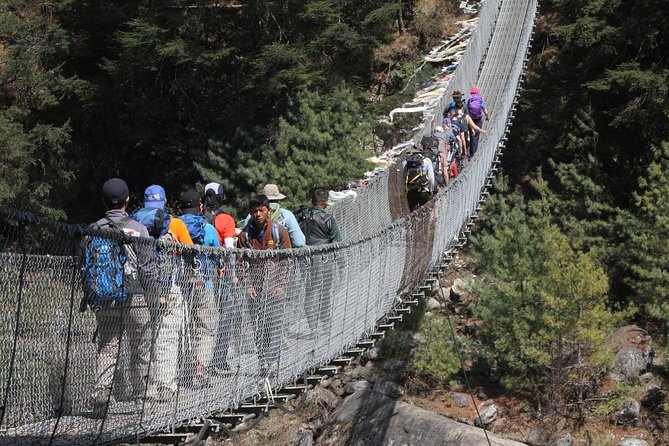
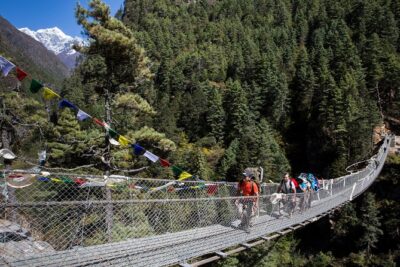
The move from Phakding to Namche Bazaar is where the trek starts to feel like a “real climb,” even if you’re not exhausted yet. You follow the Dudh Kosi repeatedly across suspension bridges—fun, scenic, and also a reminder to keep your footing steady when legs get tired.
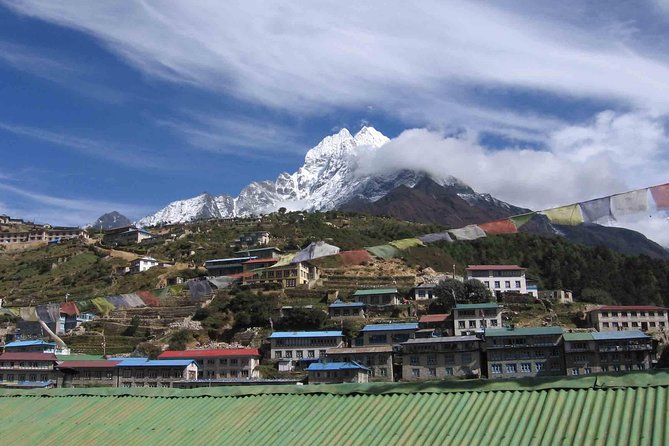
You enter Sagarmartha National Park, and then the trail climbs steeply. Namche Bazaar sits at about the “gateway” level for the Everest trail. It’s also the first real hub: restaurants, lodges, shops, money exchange, and internet cafes. You can recharge here, but don’t treat Namche like a vacation stop. You’re there to adjust.
The Namche Acclimatization Day: Museum, Syangboche, and Peak Views
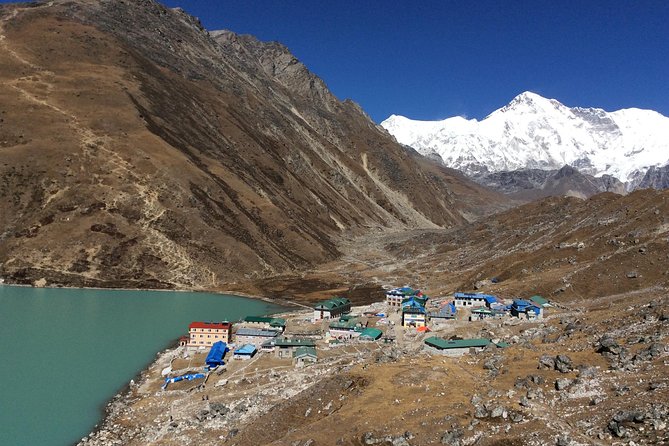
Day five is your acclimatization buffer in Namche. You’ll do a short hike to a museum focused on Sherpa customs and traditions, and then you have time to head up near Syangboche Airport close to the Everest View Hotel area.
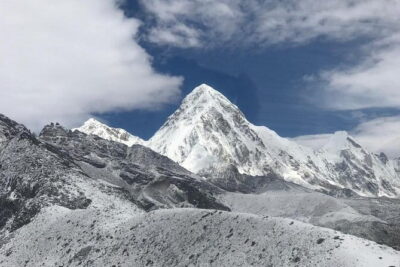
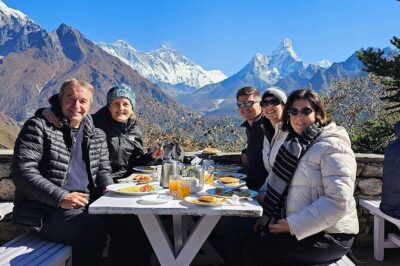
This is a smart day in the itinerary because it gives your body a chance to adapt while your eyes get to drink in Khumbu peak views. The goal isn’t to “win the hike.” It’s to help your body learn that altitude isn’t optional on this route.
A gentle but important tip: keep the pace moderate even if the views are tempting. When visibility is good, it’s easy to hike faster just to see more. That’s the moment altitude punishes you.
Into the Rhododendron Hills: Phortse and the Switch Toward Glacier Country
After Namche, the route goes on a steep climb out of the valley through rhododendron forest, with juniper and large conifers appearing as elevation rises. This is where the trek becomes prettier in a quieter way—less town energy, more forest and trail feel.
You pass areas including Yak Kharkas and summer settlements, and you’ll get notable views of Khumbi La and Tawache. These names matter because they help you orient yourself as you move through the region. The mountains aren’t just backdrops; they become navigation landmarks.
By the time you reach Phortse, you’re starting to shift toward the broader glacier and lake scenery that defines the Gokyo side of the Khumbu. If you’re thinking this will be all Everest, you’ll be surprised how quickly your attention changes once Ngozumpa Glacier territory starts coming into view.
Machhermo: Ridge Views and That Long Ice-Glacier Feeling
The walk to Machhermo is described as climbing ridges for views down the valley toward Kengtega, then climbing again with impressive sights toward Cho Oyu, before dropping toward a river and climbing to the terminal moraine of the Ngozumpa Glacier.
This is one of those days where the “why” behind the earlier acclimatization shows up. Your legs work hard, and the terrain feels different near glacier features—more exposed, more open, and often more changeable in the wind.
You’ll likely feel the weather turning your mood here. If skies clear, the views of Cho Oyu and the glacier zone can feel almost too big to process. If clouds roll in, the day still serves a purpose: you’re moving forward and positioning for the Gokyo area.
Reaching Gokyo: Base Camp at 4,790 m and Glacier-Lake Atmosphere
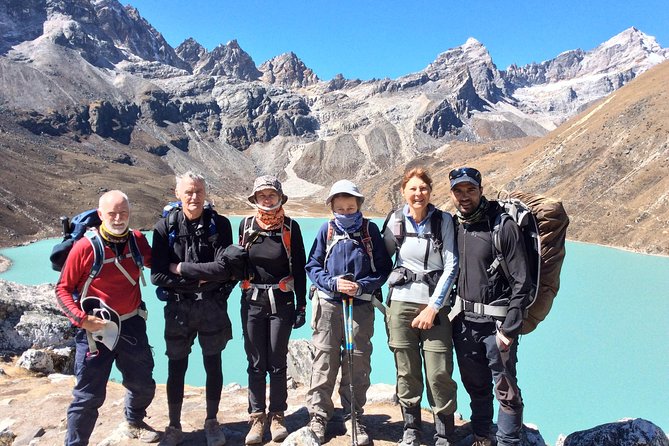
When you finally reach Gokyo (4,790 m), the itinerary treats it as a two-night base so you can do some sightseeing and short hikes around the area. This pause is valuable. It gives you time to adjust at a higher point without stacking a huge climb every single day.
Gokyo is also where your “big picture” understanding changes. The trekking description emphasizes Ngozumpa Glacier, and you’ll be living in the view zone. The glacier isn’t a one-off photo moment; it’s part of your day-to-day geography.
One of the most interesting things mentioned is the dramatic ice ridge between Cho Oyu and Gyachung. When visibility is good, the ridge-line feeling can be intense—like you’re standing in the middle of overlapping mountain stories.
If you care about comfort, you should appreciate that the trek is built around local lodges/guesthouses, not camping every night. That doesn’t mean it’s easy. But it means you can dry out layers and reset between walking days.
Gokyo Ri (5,483 m): The Early Climb That Changes Your Whole Perspective
Day nine is your signature moment: an early steep climb to Gokyo Ri (5,483 m). The payoff is described as stunning views across the super Gokyo valley, the massive Ngozumpa Glacier, and a wide panorama of Khumbu Himalayas.
You’re looking at a lineup that includes Everest, Lhotse, Nuptse, Makalu, Cho-Oyu, and Gyachung Kang. That list is the reason people plan this trek in the first place. It’s not just about height; it’s about seeing those peaks in a single frame from a place that isn’t on the classic Everest trail.
Why go early? Because clouds can swallow view lines fast. The early timing increases your odds of crisp angles and clear outlines. The climb is short in time, but it’s steep and sharp on your breathing. Don’t treat it like a casual stroll—treat it like a focused effort with lots of micro-rests.
Dole Downhill: A Breather Day That Still Requires Good Legs
After the big summit-style payoff, the route returns to earth. You descend to Dole, keeping the walking on the descent side after the earlier Gokyo Ri push.
This type of day matters. Descents can be psychologically easier, but your knees can still complain. Your best strategy is controlled steps: short strides, steady rhythm, and no rushing just because you feel better.
Back Toward Namche: Sherpa Villages and the Mountain Behind You
The trek continues as you make your way back through typical Sherpa villages of Khumjung and descend to Namche Bazaar. The itinerary frames it as leaving the mountains behind as you go down, which is a real mental shift. Suddenly it feels like you’re walking through the everyday side of Khumbu life, not just chasing summit views.
This part of the trek is often where the cultural side sticks. You see monasteries and community details you might have been too focused to notice earlier. You also appreciate the earlier days because you understand what you already climbed.
Lukla Return: Time to Reflect and Enjoy the Wind Shift
You reach Lukla again and spend time exploring the town. This day is partly about logistics—checking in, preparing for flight travel—and partly about celebrating what you did.
The itinerary describes this as a moment to reflect as a group. That lines up with what this trek tends to do: it compresses the mountain world into two weeks, then suddenly it’s gone. One minute you’re under peak shadows; the next minute you’re back where people argue about weather and the shops stay open.
Kathmandu Spare Day: Optional Add-Ons for Folks Who Can Still Walk
You get a spare day in Kathmandu after the trek. You can add on other Nepal experiences like Chitwan jungle safari or rafting, or keep it low-key with shopping or a scenic flight.
In the evening, you’ll have a farewell dinner in a traditional Nepalese restaurant with cultural performances. Even if you’ve seen cultural shows elsewhere, this tends to feel like a full-stop moment after mountain effort.
Guides, Porters, and Real-World Flexibility (What the Best Teams Do)
The biggest theme in feedback for Ace the Himalaya routes is not just scenery. It’s how the team handles the messy parts of mountain travel: pace, safety, weather changes, and the unexpected.
People highlight guides such as Ngima, Ramesh Karki, Nimesh, Bishnu, and Milan, plus porters like Lochan, Bishaal, Gopal, Bishal, Bal Krishna Niagiar, Sukre, and Hira. Names may differ across departures, but the pattern is consistent: experienced leadership, attentive care, and a willingness to adjust daily routes when conditions change.
One review story mentions route reprogramming due to a one-day delay, and another points to landslides blocking sections. That’s the reality of the Himalayas: plans are suggestions. A good guide’s job is to keep the trek safe and keep your time working toward the views you paid to chase.
If you’re the type who wants checklists, take this seriously: ask your guide how they’ll handle weather. You can’t control fog, but you can control preparedness and decision-making.
What You Should Pack and How to Train (Based on the Trek’s Real Profile)
The itinerary suggests moderate fitness, but the altitudes and steep days mean you’ll want more than casual cardio. Aim for strong walking stamina and good stair endurance before you go.
Pack basics you’ll likely need: trekking boots you trust, layers for cold early starts, and rain protection. Since down jacket and sleeping bag are provided as rentals, you can focus your weight on the items you’ll need daily, not bulky “maybe” gear.
Also, plan your energy like a grown-up. The route has steady climbs and then big days: Gokyo Ri is steep, Machhermo positions you near moraine terrain, and the return descents can be hard on joints.
If you’re prone to altitude issues, bring your own plan and talk to your guide. The itinerary’s structure already supports acclimatization—Namche gives you that built-in chance—but your body still decides the final pace.
Should You Book the Gokyo Valley Trek With Ace the Himalaya?
Book it if you want peak-scale views tied to a route that supports acclimatization, offers strong staffing, and keeps you in lodge comfort on most nights. The blend of Gokyo Ri, Ngozumpa Glacier, and Sherpa village life is exactly the sweet spot for an Everest-region experience that feels different from the main Everest trail.
Consider a different option if you’re worried about steep early starts or if you’re not ready to handle altitude responsibly. This trek doesn’t pretend to be easy, and the best outcomes happen when you respect pace and weather.
If you do book, lean into the things that make this trek work: take the Namche acclimatization day seriously, treat Gokyo Ri like a focused effort, and trust your guide when they adjust the route. That’s when the mountains start feeling like they’re telling you something back.
FAQ
How high does the trek reach for the main viewpoint?
The trek includes an early steep climb to Gokyo Ri at 5,483 m.
Are airport transfers and sightseeing in Kathmandu included?
Yes. The package includes airport transfers and guided sightseeing of Kathmandu with entrance fees.
Is trekking equipment provided?
Yes. You’ll receive a down jacket and sleeping bag for the trek (and you return them at the end).
Do I need travel insurance?
Travel insurance is not included, and it’s noted that your insurance should cover emergency high-altitude rescue and evacuation.
What meals are included versus not included?
The itinerary includes breakfasts and dinners on multiple trekking days, and some lunches during the trek. Lunch and dinner in Kathmandu are not included.
What is the cancellation refund window?
You can cancel up to 6 days in advance for a full refund. A 50% refund applies if you cancel 2–6 days before the experience starts, and there is no refund if you cancel less than 2 days before.
More Trekking Out of Kathmandu
More Tour Reviews in Kathmandu
Just Reviewed in Kathmandu
- Mountain Bike Tour
★ 5.0 · 3 reviews - Annapurna Panaroma
★ 5.0 · 3 reviews - Mount Everest Scenic Flight 50 Minutes
★ 5.0 · 3 reviews - Kathmandu : Swambhunath & Durbar Square Guided Half Day Tour
★ 3.3 · 3 reviews - Chandragiri Cable Car & Monkey Temple Tour – Private/Group
★ 5.0 · 3 reviews - Kathmandu: Shivapuri National Park Hiking Day Trip
★ 3.3 · 3 reviews
Gokyo Lakes & Everest High Passes, compared.
 ★ 5.0Gokyo to Everest Base Camp TrekFrom $2,200113 reviews
 ★ 5.0Everest Base Camp – Cho La Pass – Gokyo TrekFrom $1,39465 reviews
 ★ 5.012 Days Everest Base Camp Kala Patthar TrekFrom $1,79961 reviews
 ★ 5.0Guaranteed Landing at Everest Base Camp Kalapathar by HelicopterFrom $3,50038 reviews
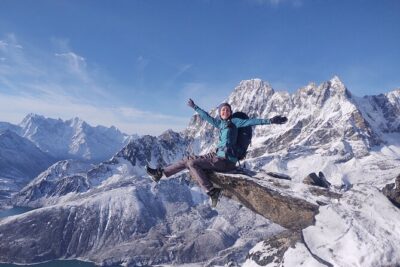 ★ 5.0Everest Gokyo Valley Trek – 12 daysFrom $1,39927 reviews
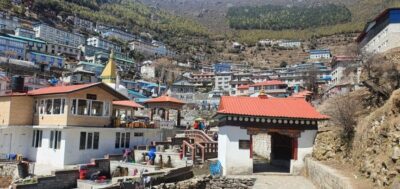 ★ 4.214-Day Everest Base Camp with Kala Patthar TrekFrom $1,29621 reviews
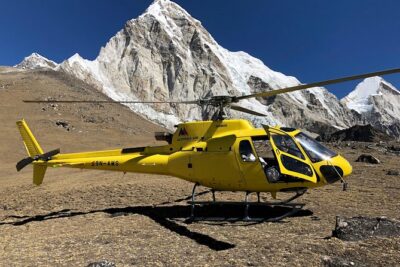 ★ 5.0Landing Private Helicopter at Everest base camp & Gokyo for photoFrom $4,39920 reviews
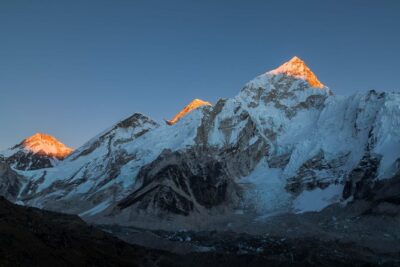 ★ 5.0Everest Base Camp Kalapathar Trek 14 DaysFrom $1,99017 reviews
Browse the lists this tour appears in